Overview
In this project, I learned how to implement a program that would convert vector images into a bitmap png format, and various techniques on sampling from images and texture maps. I thought it was really interesting to learn about all of the different antialiasing techniques, from calculating subpixels inside of one pixel, to getting colors from a texture map and using pixel coordinates to calculate which values I was looking for. I got to learn what the pros and cons of these various techniques were, for instance keeping track of the amount of memory as well as the speed and quality of processing the bitmap image. Also because of this writeup, I learned the basics of html!
Section I: Rasterization
Part 1: Rasterizing single-color triangles
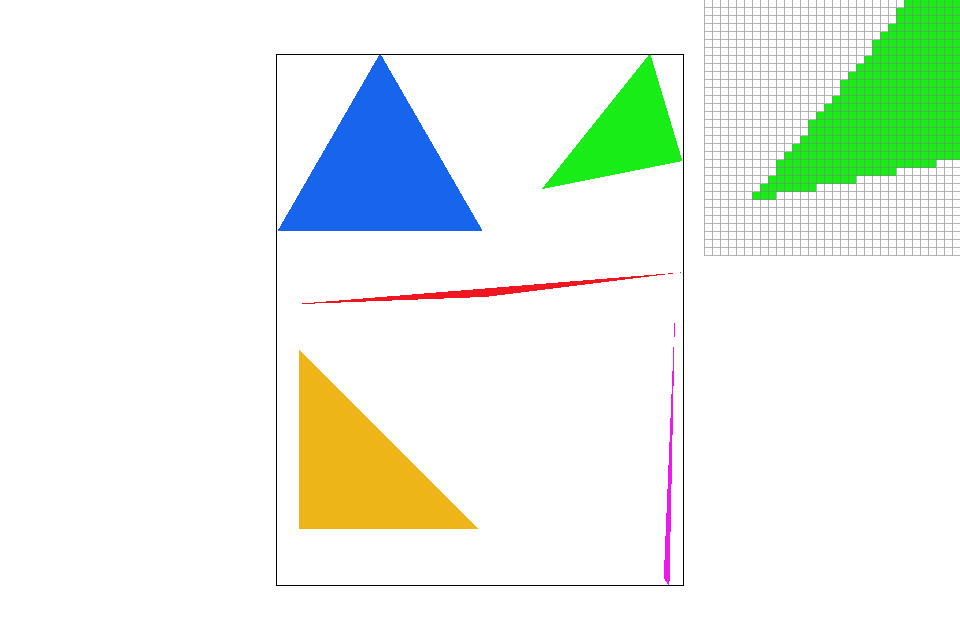
Rasterizing is pretty much the process to convert vector based shapes and images into a bitmapped image. In my case, I was assigned to rasterize triangles into their pixel counterpart. The way to rasterize is by using some knowledge of sampling (which I got the idea from lecture 2 by Professor Ren Ng). The premise uses 2 coordinates as well as an additional point p. We can create a vector v out of the 2 coordinates. By finding the perpendicular vector of that v, (let's call the new vector t), we can do the dot product of t with vector n (which is consisted of the point of intersection between vectors v and n, as well as the additional point p) to determine whether or not the directon of the new dot producted vector is on the side of the vector v that is the same side that vector t points. We can apply this logic for each of the 3 coordinates of a triangle to determine whether a specific point p is inside each of the 3 lines, and by making the perpendicular vector for each line point inwards towards the center of the triangle, we can figure out if that point p is within all 3 lines at once, thus being inside the "triangle". We color all of the points that are inside the "triangle", and after all the points are colored in, we actually get a visible triangle!
The algorithm I provided is no worse than one that checks each sample within the bounding box of the triangle, because my algorithm does not check EVERY sample of the bounding box. I made it so that it checks ONLY elements that are in between largest and smallest y coordinates of the 3 triangle points, as well as in between the largest and smallest x coordinates of the 3 triangle points. This evidently creates the smallest/tightest rectangle possible that bounds each triangle from top to bottom, left to right.
|
Part 2: Antialiasing triangles
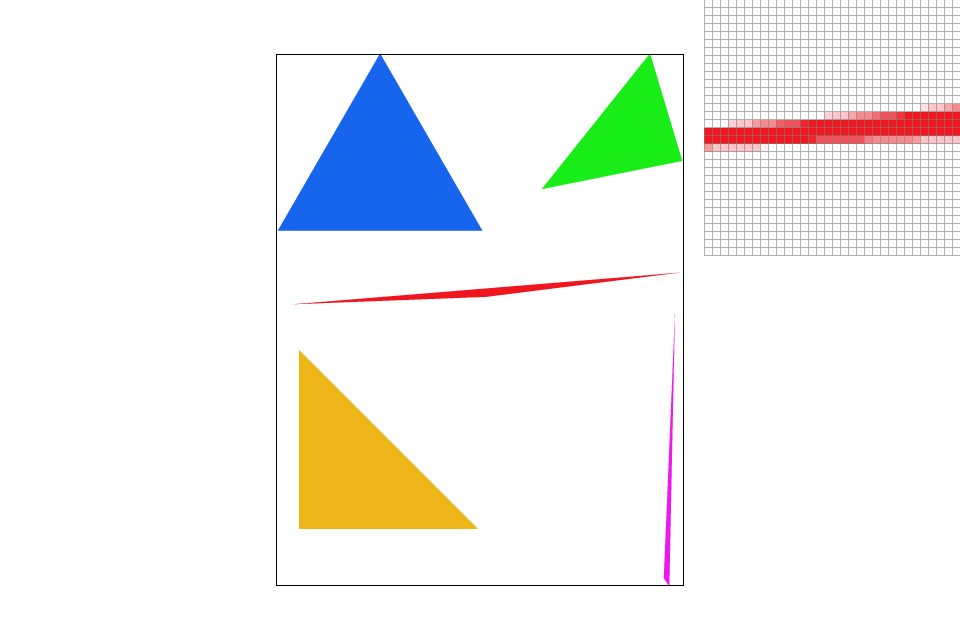
Super sampling is the process of sampling smaller sections of each pixel box, and averaging that data to get a new value for the pixel. The way I did supersampling was taking the previous function I had for rasterizing a triangle, but with a few modifications. In the deepest part of the for loops, I added two more inner for loops. These iterate through each of the subpixels. The amount of subpixels in each pixel is equal to the sample rate we desire, so the height and width of the subpixel box are both the square root of the sample rate. The two inner for loops iterate this many times (representing the height and width). Inside the loop, I still used a helper function to see if a point was within the triangle, but now instead of the center of the pixel, I checked the center of each subpixel. This meant I had to do the x coordinate plus the subpixel * the loop iteration we were on, plus half the length of one subpixel (same thing for the y coordinate). This gave us subpixel values, but what we really wanted to do was add these up and average them to produce a decent antialias. I had to write the function that would replace the pixel with a new pixel color, which was the average color of the subpixels. This was implemented in the get_pixel_color function (it calculates the average of the subpixels).

|

|
|
Part 3: Transforms
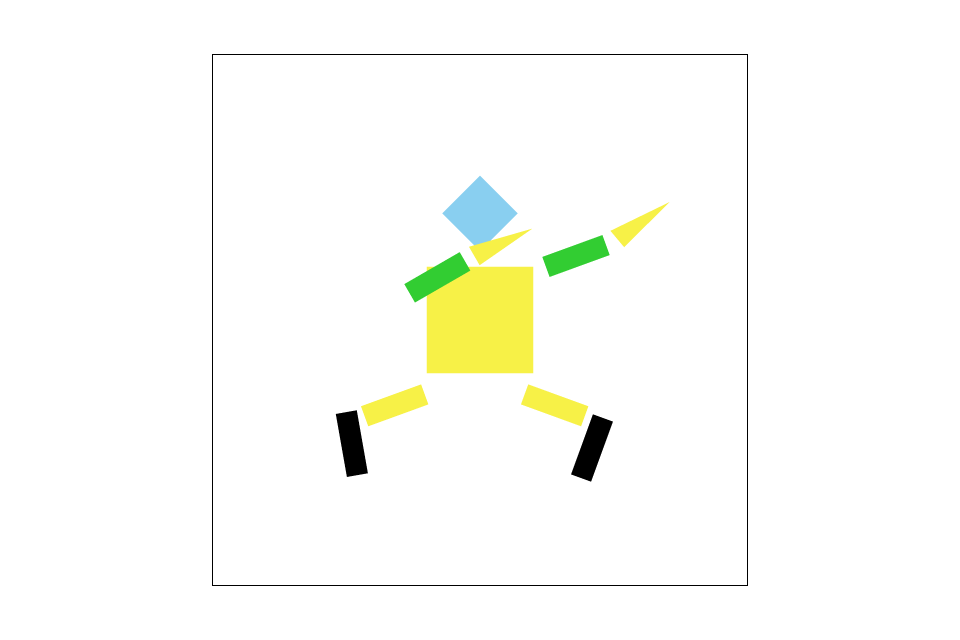
Basically what I was trying to write my robot was to make it dab, along with having its hands be sharp like knives. I changed the color of it too!
|
Section II: Sampling
Part 4: Barycentric coordinates
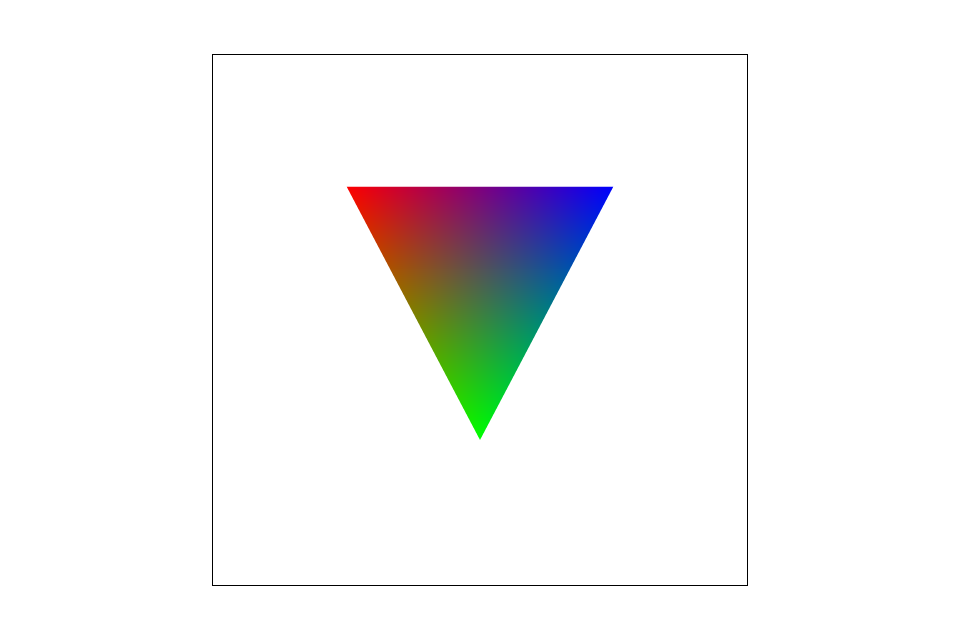
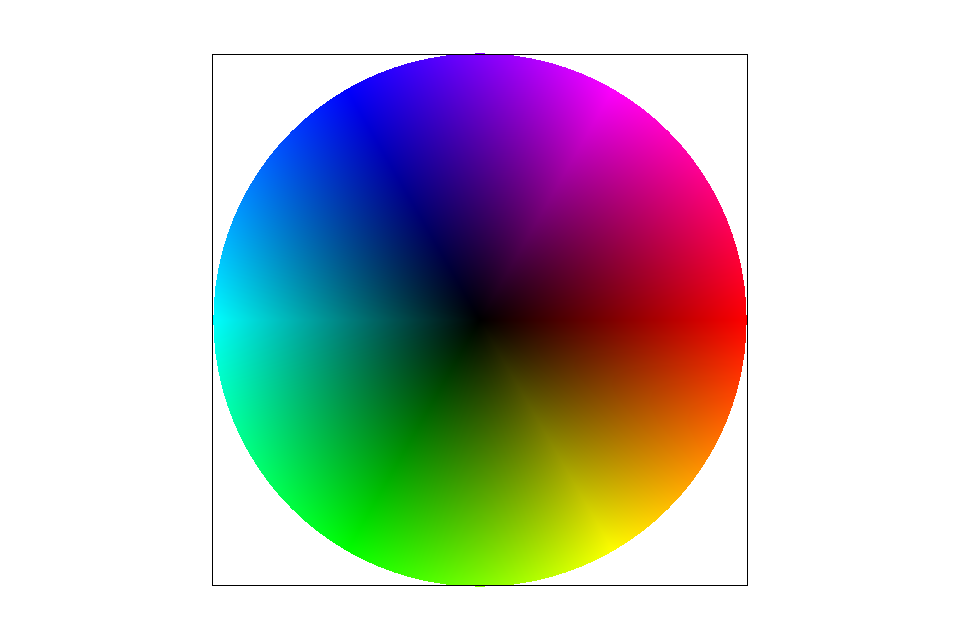
Barycentric coordinates are a way for us to represent a point in respect to the vertices of a triangle. It is a three coordinate system, and each of the coordinates corresponds the proportion of how close the point is to one of the specific vertices. The thing is, though, we aren't calculating the shortest distance between the point and the vertex, but we are calculating the "height" from the vertex to the point, with respect to the parallel line that is opposite of the chosen vertex. The result of the coordinates will basically be the weight of the colors of the vertices. For example, if we have a triangle with vertices A, B, and C, where the location of A is red, B is blue, and C is green, the color at the point we chose will be more red if we are closer to A, more blue if we are closer to B, and more green if we are closer to C (see Example SVG) - a point in the middle of the triangle will be an equal mix of all three colors.
|
|
Part 5: "Pixel sampling" for texture mapping
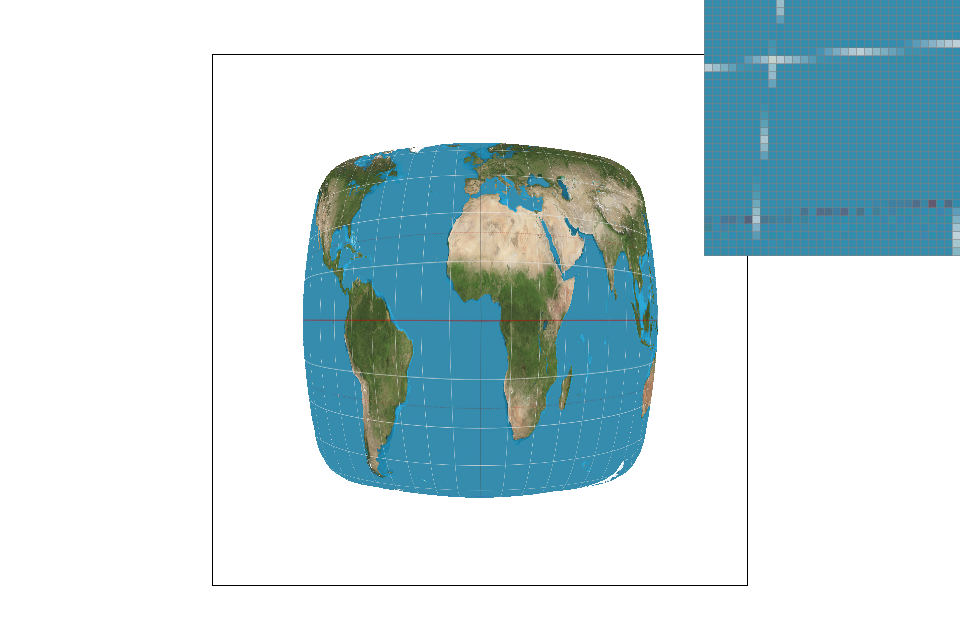
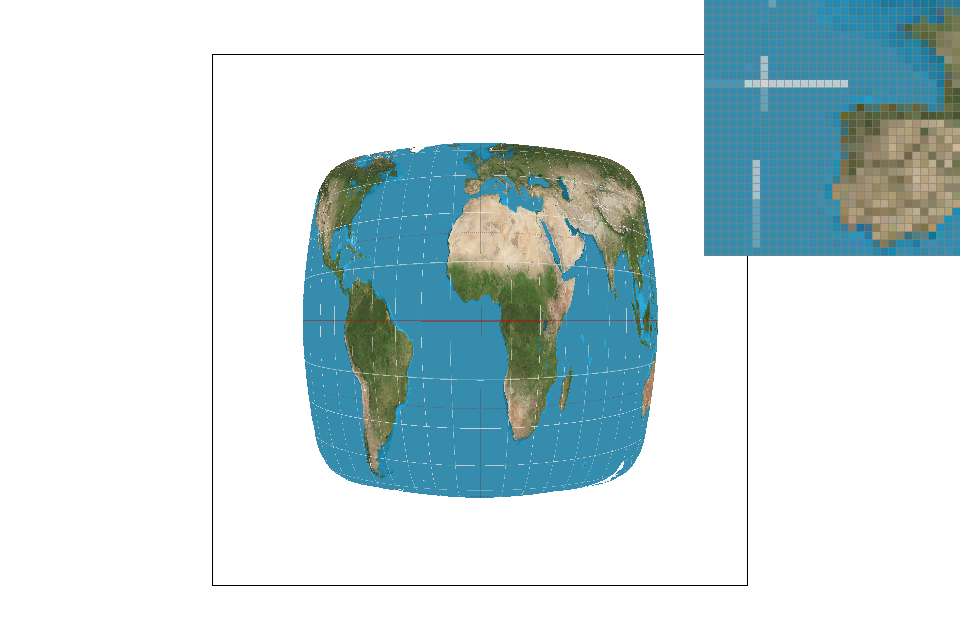
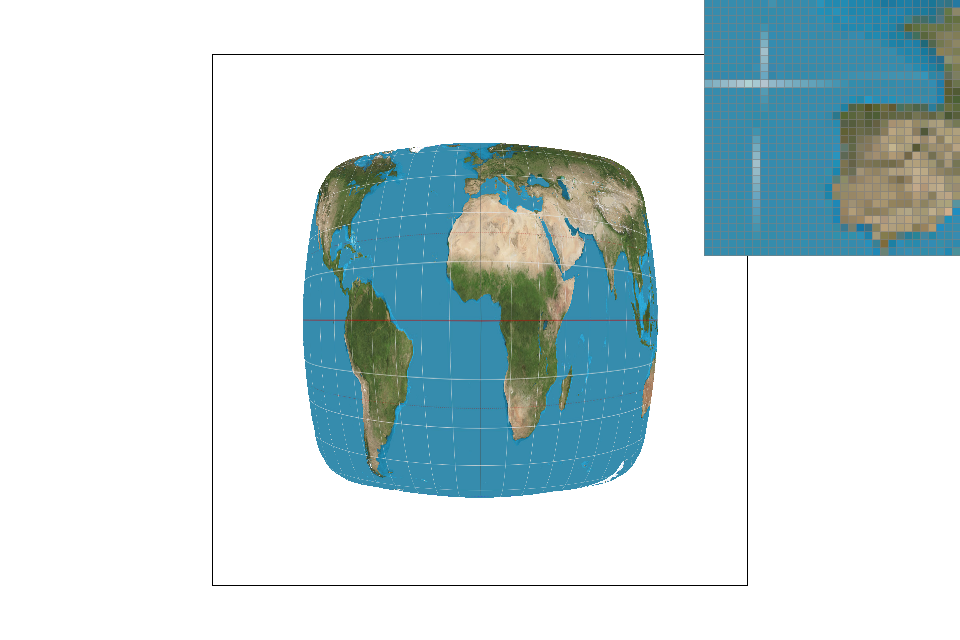
Pixel sampling is basically taking the colors of certain pixels and manipulating them in with specific techniques to end up with one value which is a mix of all the pixels. For texture mapping, I calculated the barycentric coordinates and interpolated them with the pre-given u and v coordinates to determine what coordinates to grab from the texture map. Nearest sampling pretty much just grabs the texel in the texture map that corresponds to the floored value of u and v, so it is pretty much just the texel that coordinates u and v lie inside. Bilinear sampling looks at the location u and v lie in, as well as 3 other locations next to it. We do linear interpolation on the four locations to find a sort of "average value" for the colors based on how close/far the uv values are compared to the other uv values.

|
|

|

|
With 1 sample per pixel, it is obvious that bilinear sampling is superior over nearest sampling. The lines look more connected when doing bilinear sampling, and that is because of the texture pixels we look at when we grab them from the texture map. When we use nearest sampling, we only take the color that the pixel lands on, which would lead to problems when we want to pixelate skinny strands of hair or pieces of noodle. Bilinear sampling would help ease this problem because it takes adjacent locations and pretty much has those other colors contribute to the final pixel color value, so it won't be treated as if it weren't there. So, there will be a large difference when we want to decide on a sampling method for capturing tiny strands of things that may not fall directly where we want it to land.
Part 6: "Level sampling" with mipmaps for texture mapping
Level sampling is the process of having various resolutions for a single image/texture map, and using those various levels of resolution to represent the image that is being displayed. We use this process for images that have depth changes in them, so we won't have to deal with overblurring or sharpening the entire image which leads to a very awkward picture. We used this for texture mapping by sampling the barycentric coordinates dx and dy (which were just the original xy coordinates plus 1 in both x and y directions), and seeing how much distance we passed inside of the texture map in respect to the original x and y coordinates; if the distance was greater, then it represents a further back portion of the image, thus we take the colors from a higher level of the mipmap, meaning that the image would be lower resolution.
In my project, we are able to adjust pixel sampling, level sampling, and the number of samples per pixel. When adjusting pixel sampling for texture maps (going from nearest neighbor to bilinear), we just are taking the values of the texture map coordinates close-by into account when determining the final color. This doubles the amount of colors we are looking for, which is not the worst amount. This method does a decent job of antialiasing because it also helps account for tiny strands of color that may have been lost when doing nearest neighbor sampling. When doing level sampling, we get the two extra coordinates before we look into the texture map. We don't take up that much more data when keeping track of various levels of the image (having a mipmap only has an overhead of 4x/3, where x is the size of the original texture), so memory won't be an issue. Adjusting the number of samples per pixel takes up a lot of memory since as we increase the number of samples to n, we have to keep track of n times more pixel color values than we had before. This process also takes more time as we increase the number of samples because after we finish drawing the picture, we average the subpixels and return back the new picture. The antialiasing power of adjusting the number of samples is pretty nice in my opinion, but it just takes some time to get the result when we increase the number of samples. I would say that the one that takes up the most time to process is when adjusting the number of samples per pixel.
|
|

|

|